How To Fix “No Camera Found In Scene” In Blender
A free graphics program called Blender enables users to produce animated movies, 3D-printed models, and visual effects.
The "No camera found in scene" problem might occasionally be encountered by users, despite the fact that the platform serves both professional and amateur creatives. You can't finish your project because of the problem because the program can't render a scene correctly. Fortunately, there are various approaches to fixing the issue and creating stunning animation.
Scene Blender failed to find a camera.
There are two options if the program is unable to identify a camera in a scene that you have opened.
You might incorporate a camera and make the software able to recognize it.
The "Properties" panel also allows you to modify the camera settings.
Blender Camera Addition
In Blender, the camera is the most critical part of any scene. It allows the software to analyze and render the scene, allowing users to easily export animations and visual effects. Blender treats all items that the camera points at as scene elements, thus they will appear in the final projects. To add a camera to a scene, follow the instructions below:
1. Press "Shift + A" to open the "Add" menu.

2. To pick the "Camera" option, move the cursor over it and left-click.
Alternatively, use your PC's up arrow to select "Camera."

and

use the down arrow keys to navigate.
3. Press "Enter."

Near the 3D pointer, a camera object will appear.
To activate the camera view, press "0" on your number pad.
The 3D cursor determines where new items are placed by the application.
To move the cursor, press "Shift + C."

If you're unhappy with the camera's position, you can try alternate positions until all things are visible.
In Blender, there are two ways to move the camera. The first is called translate and works in the same way that panning a camera does. The second allows users to rotate the camera clockwise, counterclockwise, downwardly, and upwardly.
The procedures below will assist you with translating an additional camera:
1. Choose a camera.
2. To pan the camera, press "G" and move the pointer.

To rotate a camera in Blender, do the following:
1. Choose the camera and press "R."

2. To tilt the camera view, move the pointer clockwise or counterclockwise.
3. Hold "Z" to rotate and turn the camera.

It is preferable to move the camera when the camera view is active. Press "Ctrl + Alt + 0" on your number pad to align the camera with the viewpoint view.

You may have seen that your scene already has a camera if you examined the camera settings. However, if the problem remains, you may have accidentally turned it off while modifying the scenario. Fortunately, turning on a camera is a simple process. To accomplish this:
1. Go to the "Outliner" section in the upper right corner of the screen.
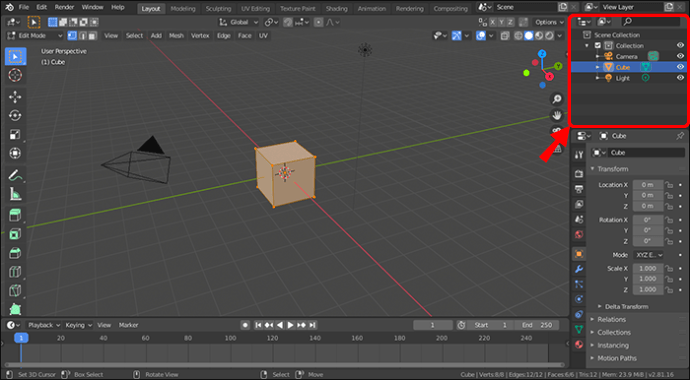
2. To use it, click the little camera icon.
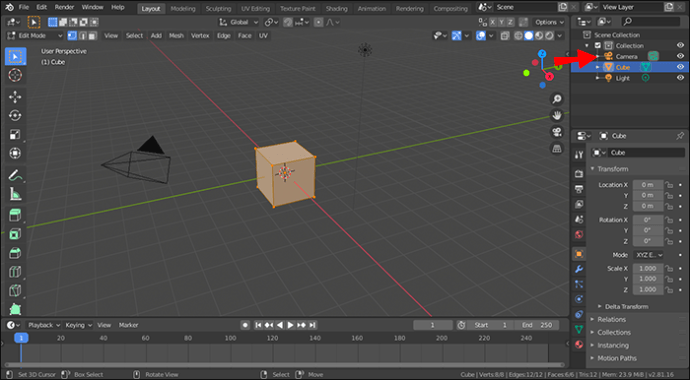
3. Toggle visibility on and off.
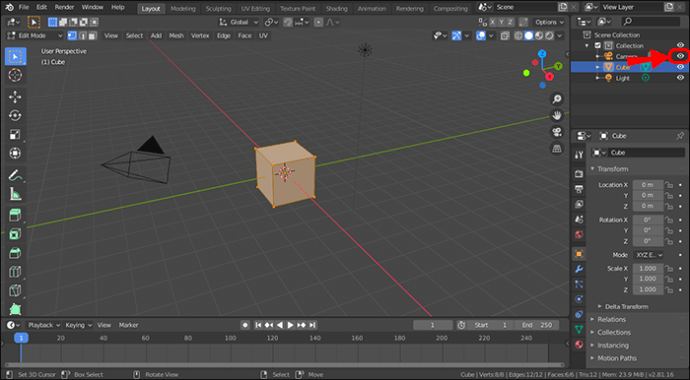
While rendering the scene, Blender should now be able to recognize the camera.
If none of the previous approaches provide results, check to see if you've opened a file containing several scenes.
If this is the case, not all scenes may feature a camera, making editing your work impossible. To enable rendering, go through each scene and add a camera. Remember to arrange each camera so that all things are visible in the final product. Also, make sure all of the cameras are activated by going to the
"Outliner" area.
Change the Camera Settings
Users may be perplexed by Blender's various camera controls.
The "Properties" panel is another element that influences the scene camera.
The "no camera" problem should go away if you go to "Properties" and modify the camera settings.
The following are the measures to take:
1. Select the "Scene" tab in the "Properties" panel.
There should be three fields on the tab.

2. Examine the "Camera" field.
If it's blank, tap it to bring up the drop-down menu and select a camera.
The program may not identify the camera you've created in the scene unless you choose it in the "Properties" box.
If you're working with a file that has numerous scenes, configure the "Properties" window for each one so that Blender can produce your animation.
Include Cameras in Every Scene for Successful Rendering
Blender is a strong graphics program, but its capabilities aren't always intuitive.
If you get the "No camera found" issue, you may quickly fix it by adding a camera to your scene
or changing the settings in the "Properties" tab.
Remember that while working with many scenes, you should construct a new camera in each one to effectively render your animation.
Have you ever encountered this problem with Blender? Which of the above strategies did you use to fix it? Please share your thoughts in the comments box below.